Dating Presto Pressure Canners

Handwritten note in the manual of my 1969 Sears Presto Canner that confirms my dating theory.

It finally makes sense.

For years, I’ve been speculating about exactly what the numbers on the rim of Presto’s cast-aluminum pressure canners actually mean. I now have what I believe to be confirmation.

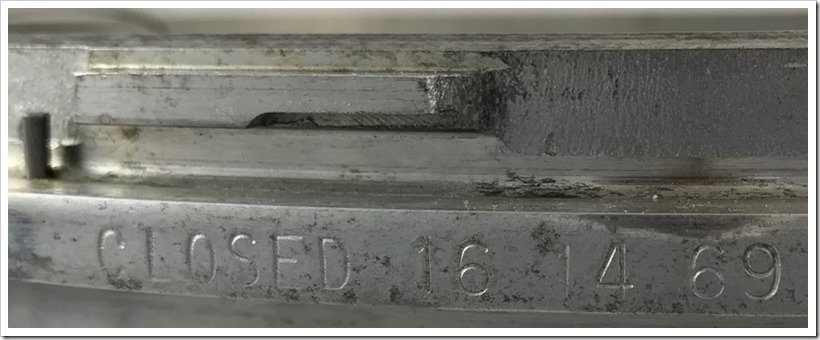
On the rim of the Presto-made cast-aluminum canners there’s a series of three two-digit numbers as show here:

1969 Sears Presto Canner Markings, close-up
A close-up of the markings on my 1969 Sears-branded Presto Canner.

Or here:

1971 21-B Presto Canner Markings
A close-up of the markings on the rim of my 1971 21-B canner.

I was sure that these markings meant something – Presto wouldn’t have gone through the trouble otherwise, right?

The first set of markings always made complete sense. The 21-B is a 21 quart canner, and my Sears is a 16 quart. Having the canner bottoms labeled as such made perfect sense.

The last number being a year also made sense to me, but I figured could have been open to some interpretation. There are references out there on parts websites, for example, that refer to parts for the cast-aluminum canners as “made in 1971 or before”. I always thought that my 21-B pictured above would have been one of the last cast-aluminum canners Presto made. I did wonder if I was correct or not.

I didn’t have any idea what the middle number could be. Several years ago I had asked in an online canning group and they suggested it could be a week of manufacture. While this made some sense to me, I had a 1967 canner bottom that had a middle number of 51. I wondered if the factory was working right up until Christmas that year. I now think they were.

In 2018, I walked into a local Goodwill and found a Sears-badged cast-aluminum Presto canner. It was in great shape, had what I have no reason to doubt was the original manual, and I didn’t need ANOTHER canner, so I brought it home anyway. I scanned in the manual, did a blog post about it, and went on with my life.

Enter 2021.

I ran across the paper manual and picked it up, asking myself, “did I ever scan this one?” While I was paging through it I noticed this gem:

Handwritten note in the manual of my 1969 Sears Presto Canner that confirms my dating theory.
A previous owner’s note that confirms my theory?

This canner has “16 14 69” on its rim. It’s a 16 quart. The manual has a copyright date of 1968. This handwritten note would likely be the date the previous owner bought it – 6-15-69.

If the “14” really is the week of manufacture, that would mean that the foundry cast this particular canner after the Easter weekend in 1968. I think it not only likely, but entirely plausible that a canner produced just after Easter in 1969 could have made it into someones hands by canning season in June.

Mystery solved.

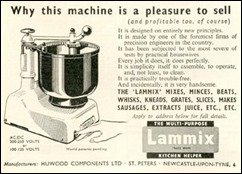
Lammix Food Processor

… mixes, minces, beats, whisks, kneads, grates, slices, makes sausages, extracts juice, etc. etc. ….

While looking through my hard drive the other day, I ran across this page that I had saved 15 years ago. Since the original website no longer exists, and I can’t find this posted anywhere else online, I’m posting it here “for posterity” – and because I think it’s cool!

The original from the Vintage Technology site:

Lammix Food Processor

Vintage Lammix Food Processor Mixer Advert
This half page trader advert from December 1950 shows the ultimate food mixer which uses a interesting inner bowl tooth system for the mixer-head guidance.  I’m not sure what the “Lam” stands for, not fully trouble-free means and pretty dubious about the “severe housewife”!

Why this machine is a pleasure to sell
(and profitable too of course)

It is designed on entirely new principles.  It is made by one of the foremost firms of precision engineers in the country.  It has been subjected to the most severe of test by practical housewives.  Every job it does, it does perfectly.  It is simplicity itself to assemble, to operate, and, not least, to clean.  It is practically trouble-free.  And incidentally, it is very handsome.

The ‘Lammix’ mixes, minces, beats, whisks, kneads, grates, slices, makes sausages, extracts juice, etc. etc.  Apply to address below for full details.

The Multi-purpose Lammix (Trade Mark) Kitchen Helper
World Patents Pending
AC/DC 200-250 volts or 100-125 volts

Manufacturers: Huwood Components Ltd., St. Peters, Newcastle-Upon-Tyne, 6

Electric Canning Burner Elements

Three canners in production on the Big Garland

Do your canners take too long to come up to temperature on your electric coil stove? Maybe it’s time for a burner element upgrade!

Post updated May 2019.

If you’ve been spending a lot of time canning on your electric coil stove, you may have noticed a few things about your elements and stove-top and how they perform together:

  • Maybe your stove-top is hotter than you think it should be while you are canning
  • Maybe the coils of your burner elements are sagging or warped or twisted
  • Maybe your stove-top is sagging under the weight of loaded canners
  • Maybe your canners seem to be taking forever to reach temperature

The sagging stove-top

I’ll tell you right off the bat that not every stove is designed with large canners in mind – or large pots of any kind. So many of us do not cook at all, much less in the quantities that would require a 22 quart stock pot or a [easyazon-link asin=”B0002808Z2″ locale=”us”]30 quart canner[/easyazon-link]. Manufacturers won’t design their stoves for a big ole [easyazon-link keywords=”water bath canner” locale=”us”]water bath canner[/easyazon-link] if they think we will only use the stove to heat 6 ounces of water for a cup of tea. If your stove-top is sagging under the weight, this article isn’t going to be much help to you, I’m afraid. You’ll need to consider other alternatives. A new stove. Or canning outside on a [easyazon-link asin=”B0006VORDY” locale=”us”]camp stove[/easyazon-link].

Since many stoves aren’t designed for big pots, it follows that neither would be the elements. A manufacturer will frequently put in elements with lower wattages and with brackets only strong enough for that afore-mentioned cup of tea. Those elements are certainly powerful enough and strong enough for “normal sized” cookware, but when you want to bring a large quantity of water to boiling, and keep the element from collapsing, you frequently run into trouble.

The stove-top is too hot

If you’ve noticed your stove-top being much hotter while canning than during your normal cooking, take a look at the height of your existing coil elements. You’ll notice that they are probably no more than 1/2 inch above the surface of your stove-top. A canner or large stock-pot will over-hang your big burner, usually by at least 2 inches all the way around. This will trap heat between the bottom of the canner and the stove-top. That excess heat could damage your stove-top, the drip pan under your burner or even the receptacle that your burner plugs in to.

Burner elements that are designed for canning are usually higher than the standard burner that ships with most typical stoves. The True Canning Burner listed below is right at 3/4 inch above the stove-top, while the [easyazon-link keywords=”Jenn Air” locale=”us”]Jenn-Air[/easyazon-link] Big Pot is closer to a full inch. This extra space allows for much more air flow under the canner and keeps your stove-top noticeably cooler.

If your receptacles are damaged, you will not get full performance out of your elements. When you remove your elements for cleaning, if you notice any burnt places on the prongs that plug in to the receptacle, you definitely need to replace your receptacles and almost certainly need to replace your element.

The coils are sagging

Canners and large stock-pots are much heavier than your “normal sized” cookware, even when they are empty. If you fill a typical 22 quart stock pot with water you will easily approach 50 lbs, and all of that weight is resting directly on your burner element. When the coils get hot and are underneath all that weight, they will sometimes warp or sag or otherwise stretch out of shape.

A typical element will have a tripod type bracket under it. Simply three legs in a Y shape to hold up the coils and support the cookware. Burners designed for canning will usually always have a heavier-duty bracket under them and one that is designed with more support for the coils.

Probably the most common – and it’s possible you already have these – are the “D” brackets. In a D bracket, two of the legs of the standard Y bracket are closed in making a shape that resembles a letter D. Less common is what I call the “triangle” bracket shown on the True burner below. The standard Y bracket is made thicker and heavier and taller and then a brace is placed between each leg of the Y.

I have had both D and triangle bracket elements at various times and both seem to be strong enough to support my canners.

The canners take too long to reach temperature

Manufacturers do not always ship their stoves with the highest wattage burners available. To my knowledge the typical wattages for large electric coil burners are 2150 watts or 2600 watts. (Small burners are 1250 or 1500 watts from my research.) I have found that the extra 450 watts provided by by a 2600 watt burner is noticeable. The extra wattage allows for faster heating. All the burners I’ve listed below are supposed to be rated at 2600 watts.

The burner terminal blocks are falling apart

The last time you cleaned your stove, did you check the blocks that your elements plug in to? 

Stoves frequently come with terminal blocks that are made of some high-temperature plastic or bakelite-type material. Even in regular use, time, heat, and grease tends to degrade them. Replacing them with ceramic has worked well for me. The ceramic is better able to tolerate the high temperatures generated by canning.


Recommended burners

Below I have compiled a list of all the canning burners that I could track down at the time of this posting (December 2013 May 2019) complete with as many interchangeable part numbers as I could find.

DISCLAIMER: Check with the manufacturer of your stove to determine if you may safely upgrade your burners and how to do so – don’t just take the advice of some internet blogger whom you randomly discovered via a Google search!

MP26KA Variations

The 26KA has more than a few variations, but all seem to be the same item, no matter the part number or purported manufacturer. MP26KA, TS5C8226, TS5C8226PB, YMP26KA, ERS58D26-CAN, 81410610
 
[amazon_auto_links id=”2943″]


Range Kleen

Range Kleen’s 7383 can be had with or without a drip bowl. 1020AM7383, 7383
 
[amazon_auto_links id=”2930″]
 

True

As of 2019, this burner appears to have disappeared from Amazon. I’m leaving these part numbers for posterity – perhaps someone will some day need a cross-reference.

[easyazon-image align=”right” asin=”B00EOYMG82″ locale=”us” height=”55″ src=”http://ecx.images-amazon.com/images/I/51UtoZ50JSL._SL75_.jpg” width=”75″][easyazon-link asin=”B00EOYMG82″ locale=”us”]True – triangle bracket[/easyazon-link] – Frigidaire 08011324 also part numbers K1167879, K001167879, 363110, AH413034, EA413034, PS413034, 8011324
 

GE

As of 2019, when you search for the WB30K5019, there are odd variations that show up, including 6-inch burners. I am leaving the link and cross-reference numbers below, but be careful!

GE WB30k5019 – D-Bracket – also 336177, 4337683, 80650, 257579, AH243843, EA243843, PS243843, 326786


Jenn-Air “Big Pot”

 
Perhaps this canning element has fallen out of favor over time, as it seems to be few and far between in 2019. I put my hands on two of these in 2021. The build quality left something to be desired – the burners didn’t sit level. The burner supports were attached to the outside ring with one of the three legs significantly higher than the other two. They were also stamped 2100 watts instead of the 2600 that I thought they were supposed to be. Be careful …
 

[easyazon-image align=”left” asin=”B00D8L9UB8″ locale=”us” height=”75″ src=”http://ecx.images-amazon.com/images/I/31U9VB0uJQL._SL75_.jpg” width=”75″][easyazon-link asin=”B00D8L9UB8″ locale=”us”]Jenn-Air Big Pot CE1 – D-Bracket[/easyazon-link] – Whirlpool YA145A also part numbers 703041, A145A, 704463, 712429, 7-3041, 7-4463, 7-12429, Y703041, 1247494, AH2202791, EA2202791, PS2202791, Y704463, Y712429


Replacement Terminal / Receptacle Blocks

The model number [easyazon_link keywords=”12001676″ locale=”US” tag=”cwj-20″]12001676[/easyazon_link] is one that I’ve personally used. (You should consult your stove manufacturer to ensure it is suitable for your application). Please note that I frequently see terminal blocks listed as ceramic that are not. Be careful!

[amazon_auto_links id=”2921″]


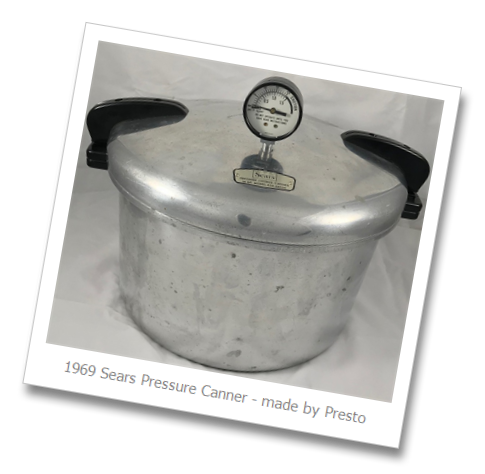
1969 Sears Canner – Made by Presto

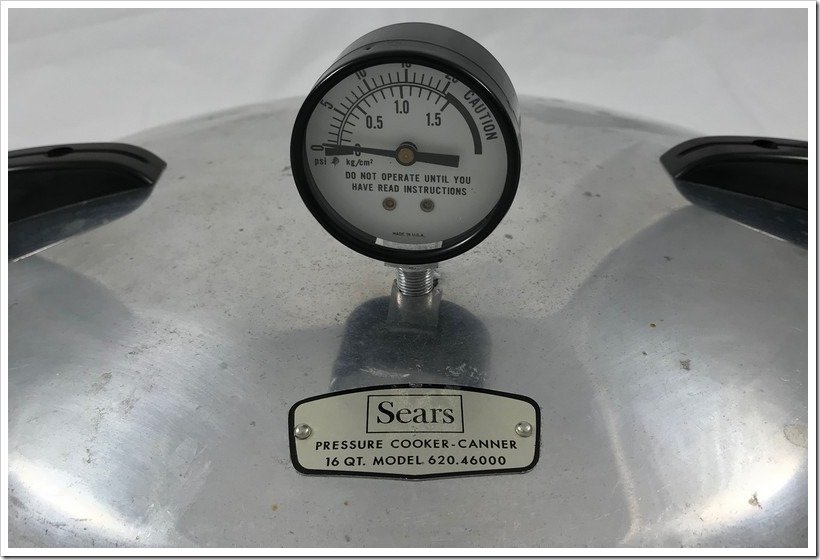
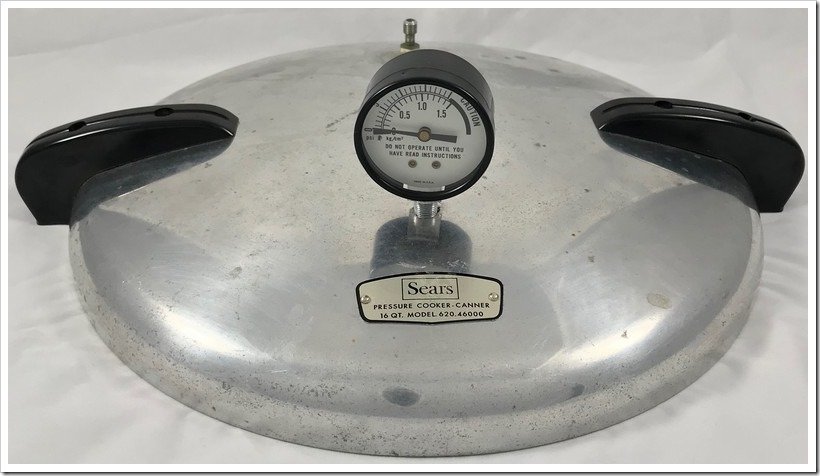
1969 Sears Presto Pressure Canner

Another canner followed me home from a thrift store.

Presto's cast-aluminum canner badged for Sears.

I didn’t need another canner. Lord knows I didn’t need another vintage canner! I mean … there were already five in the house. But, nonetheless, it was there and it decided it needed to come home with me. I’m sure it wasn’t my fault at all.

It’s a Sears-branded cooker-canner and it was made by Presto. The Sears model number is 620.46000. An example of a very similar Presto model would be the 7B.

Presto made this model – and similar models – for many years and under several brand names. These “domed-lid” models, as I like to call them, are cast aluminum and use a rubber seal under the lid. I believe they all would have come with a gauge, and that [easyazon-link asin=”B000HMBVQ8″ locale=”us”]Presto’s 3-piece weight set[/easyazon-link] came along many years later.

Depending upon their exact age, these domed-lid models may have a rubber over-pressure plug or an older metal plug. Usually the rubber plug will be one with Presto’s “Automatic Air Vent.” The Automatic Air Vent was, as I understand it, meant to be a sort of built-in timer for exhausting the air from the canner. In my experience, it pops up long before the USDA-recommended 10 minutes; I don’t judge exhausting time by the Automatic Air Vent. It is, however, highly useful for judging when pressure is released from the canner after cool-down. When the vent falls, you know there is no pressure remaining. This also eliminates any possibility of a vacuum being created upon cool-down, as can happen with other brands.

A close-up of the numbered rim on the Sears-Presto Canner.This Sears-Presto would seem to be made in 1969. I have suspected for some time that the last number found on the rim of these canners is a date. This canner has 69 as its last number, and the manual is copyright 1968. While I can’t say for certain that this is definitive, it would seem to make sense.

The first number is obviously the canner size in quarts, as my 21-Bs have a 21 as their first number, and an extra 16 quart canner bottom I have sitting about the basement, begins with 16.

The middle number would seem to most likely be a week of manufacture. So, I think this canner was made in the first half of April, 1969.

See my Presto dating page for more information.

Sears canner manual, 1968.
Bad pressure canner gauge.

Of course, being a used canner that is nearly 50 years old, it does have a problem or two.

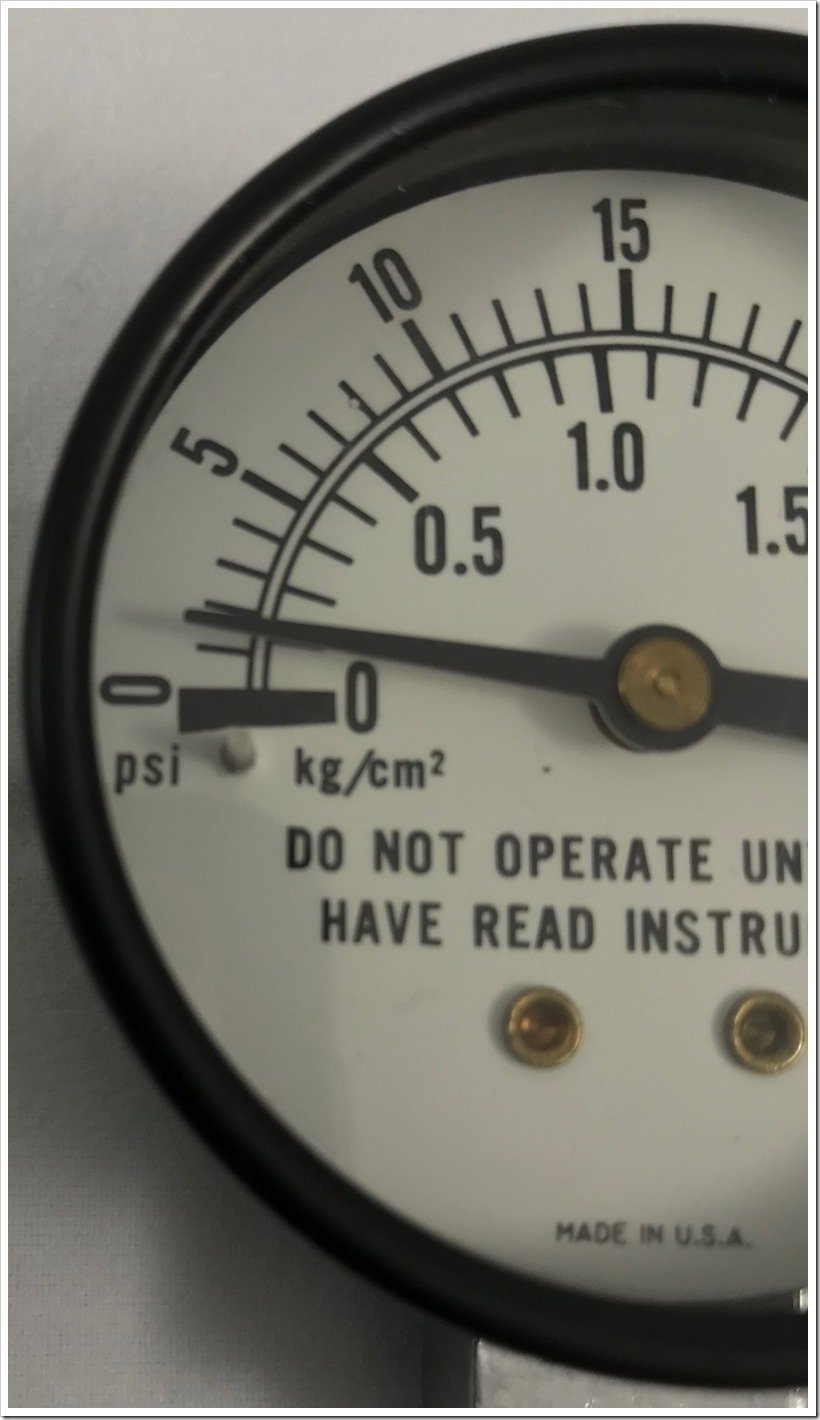
Just at first glance, you can tell the gauge is much too new to be original; the original was “tilted for convenience” according to the manual. Even though this canner has had its gauge replaced, it is not correct. You can see in the picture that the needle is not resting against its stop pin. This is a sure sign of a bad gauge and I was able to confirm that when I tested it with a 3-piece weight set. When using the 3-piece weight set, you don’t need an accurate gauge – or a gauge at all – but I prefer to have a working and tested gauge. I’ll be adding a [easyazon-link asin=”B000GD55LA” locale=”us”]new pressure gauge[/easyazon-link].


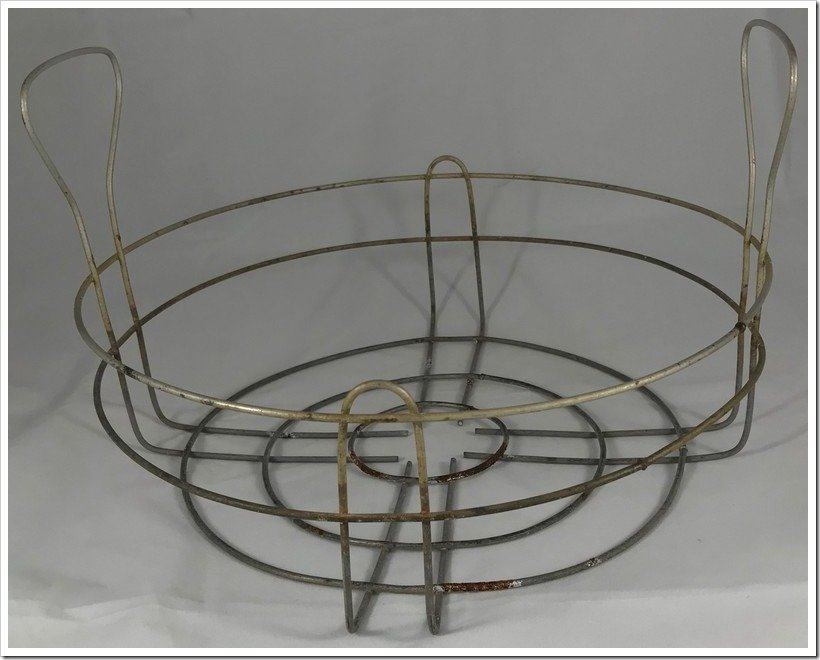
I’m also no fan of rickety and rusty wire canning baskets, so I’ll be replacing the one that came with this canner with a [easyazon-link asin=”B000LNY6T2″ locale=”us”]flat Presto canning rack[/easyazon-link].

Rusted canner basket.

The rubber gasket and Automatic Air Vent look to be in pretty good shape on this canner. The rubber gasket has “tipped upward” as described in the manual. While I’ve always understood that this means the ring has reached the end of its useful life, I do have an older canner manual that suggests that it is perfectly acceptable to simply remove the ring, turn it upside-down, reinstall it, and that it will be good-to-go. I’m probably replacing both [easyazon-link asin=”B000LL9NY2″ locale=”us”]gasket and vent[/easyazon-link] just to be on the safe side.

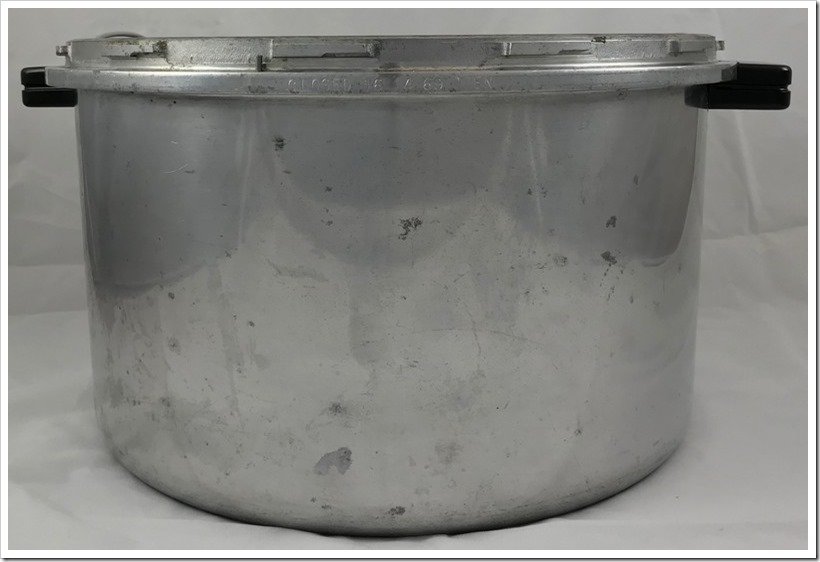
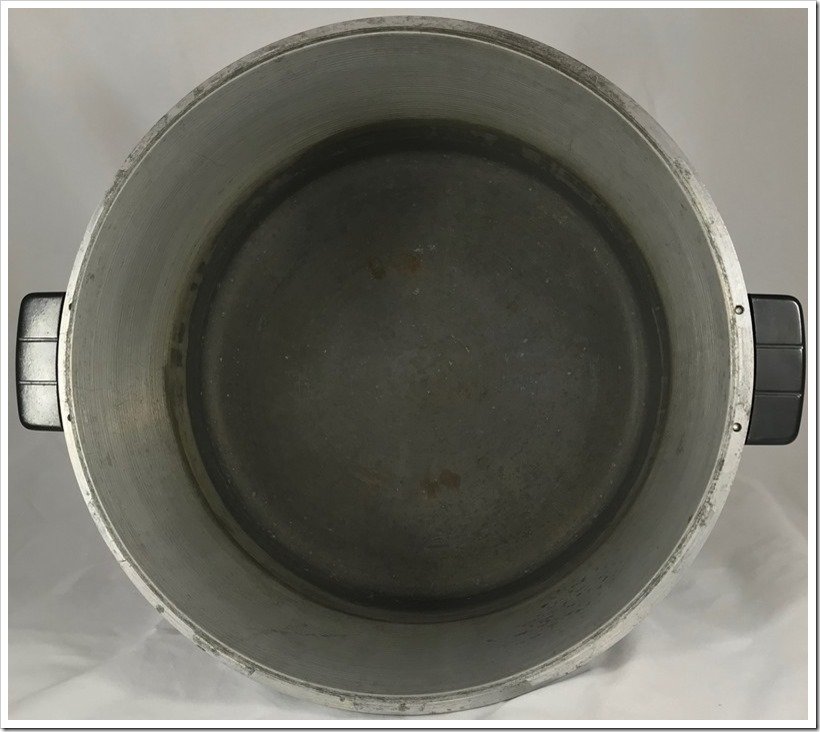
You can see from the collection of pictures below that the canner is in pretty great condition for being nearly 50 years old!

Sears canner - bottom pot.

Inside shot of the Sears canner bottom.

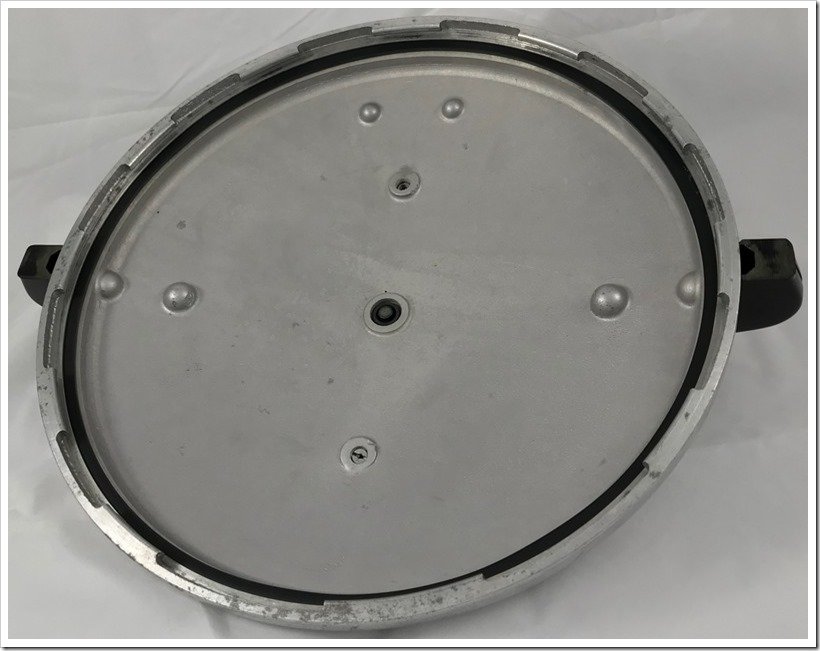
Presto cast aluminum lid - underside.

1969 Presto canner lid.

Sears Pressure Cooker-Canner 620.46000

Sears Presto Canner Manual 620.46000 I scanned the manual that came with the canner and provide it here as a reference. As a vintage manual it contains information that is outdated and that you should ALWAYS use the latest up-to-date information to ensure the safety of both yourself and your canned goods.

If you want a small version of the manual, please click this link. It is only a couple megabytes.

If you want the full version of the manual, please click this link. It’s about 60 megabytes.


Here is a list of parts on Amazon that will fit this canner:

Gauge [easyazon-link asin=”B000GD55LA” locale=”us”]Part Number 85771[/easyazon-link]
Vent Pipe [easyazon_link identifier=”B015ZNB9Y2″ locale=”US” tag=”cwj-20″]Part Number 1058[/easyazon_link]
Over-pressure Plug [easyazon-link asin=”B000OREUEQ” locale=”us”]Part Number 9911[/easyazon-link]
Gasket (with over-pressure plug) [easyazon-link asin=”B000LL9NY2″ locale=”us”]Part Number 9907[/easyazon-link]
Canner Rack [easyazon-link asin=”B000LNY6T2″ locale=”us”]Part Number 85707[/easyazon-link]
Lid Handles [easyazon-link asin=”B000HM5UVU” locale=”us”]Part Number 85444[/easyazon-link]
Bottom Handles [easyazon-link asin=”B000HM7XAG” locale=”us”]Part Number 85443[/easyazon-link]
Three-piece Weight Set [easyazon-link asin=”B000HMBVQ8″ locale=”us”]Part Number 50332[/easyazon-link]

Variations on a Theme–Chiffon Cheesecakes

My grandmother had a good thing a’goin’!

Sometime in the late 1970’s or early 1980’s my grandmother came up with a lemon cheesecake recipe. It was light and fluffy and a bit tangy. She tweaked it into the following:

2 sticks butter
8 oz cream cheese
2 C sugar
2 large cans cream, chilled (Pet or Carnation evaporated milk)
3 small lemon Jell-O
1 1/3 C hot water
Graham Cracker Crust
Mix cream cheese and sugar together. Add the water to the Jell-O and set aside. Add cream cheese and sugar to the Jell-O and whip until blended. Whip the cream one at a time and add to the mixture.
Stir all together and pour into crust.
Chill, covered with foil, in the refrigerator.

That recipe leaves out a good bit of information. Like that this recipe fills a 12″ x 18″ pan. Or that if the evaporated milk isn’t very very very cold, it hardly whips. Or that it takes a box of graham cracker crumbs to make a crust that large. This is frequently the way with vintage recipes – not everything is written down.

I’ve tweaked and updated the recipe and morphed it into the following versions – with, I think, easy to follow directions. There are future plans for a chocolate version and hopes for a blueberry version.

Lemon Chiffon Cheesecake

Lime Chiffon Cheesecake

Orange Creamsicle Cheesecake

Whipped Cream made from Evaporated Milk