Big Batch Sugar Cookies in the Bosch Universal

Let’s make some sugar cookies!

12 C flour
1 teaspoon cinnamon
1.5 tablespoon baking powder
4 C butter
4 C sugar
4 eggs
4 teaspoon vanilla extract
2 teaspoon either lemon, orange or almond extracts
1 teaspoon salt

Preheat oven to 350° degrees F. Cream butter and sugar. Add eggs, vanilla and other extracts.

Sift, then mix dry ingredients and add to butter mixture. Mix well.

Chill for 1 to 2 hours. Roll to 1/4″ thickness and cut into desired shapes. Bake 8 to 10 min.

Cool.

Can be decorated with colored sugars before baking or iced with royal icing afterwards.  Use your imagination decorating these.

To freeze: divide dough into approximately 4 rounds and wrap tightly in waxed paper then over wrap in moisture/vapor proof.  You can freeze the rounds on a tray then vacuum seal the frozen rounds

Submitted by Miss Vi & the Duckies

Procedure using the Bosch Universal

4 cups butter
(use the pulse feature to start mixing)
Getting Ready to Mix the Butter in the Bosch Universal

Sugar mixed with butter:
The butter just mixed with the sugar

Butter and sugar after 3 minutes of creaming:The creamed butter and sugar

Getting ready to change to the dough hook to mix in the flour:Getting ready to switch to the Bosch dough hook to mix in the flour

Adding 12 cups flour using splash ring:
Adding the flour using the splash ring

The finished sugar cookie dough

Finished dough:
Bosch Sugar Cookie Dough

Chocolate Overdose Cake

What is better than chocolate? More chocolate. Lots more chocolate. Did I mention something about chocolate?

I originally found this recipe at Annie’s Eats and I just Had. To. Try. It. Out. Almost two pounds of chocolate? Who could say, “no” to that?

It has a chocolate-brownie base. Then there is a layer of chocolate mousse. Then a chocolate cake layer. The entire thing is then covered in chocolate ganache and decorated as you see fit.


Ingredients gathered and ready. Softened butter and warm eggs.

Chocelate Overdose Cake Ingredients

The Brownie

Brownie Ingredients:

1/2 cup plus 2 T cake flour
1/4 t salt
1/2 t baking powder
3 oz. unsweetened chocolate
6 T unsalted butter
1 T dark rum (because Julia did it)
1 1/8 cups sugar
2 large eggs
2 t vanilla extract

Preheat your oven to 325 degrees.

Prepare a straight-sided [easyazon-link asin=”B0006GNPP0″ locale=”us”]9 x 2 inch round cake pan[/easyazon-link]. You can line the bottom with parchment if you like, while buttering the sides. Or you can cheat and spray the entire thing with one of those flour-containing baking sprays like [easyazon-link asin=”B00473NTB8″ locale=”us”]Baker’s Joy[/easyazon-link].

Mix together the dry ingredients and set aside (remember, in baking, sugar is almost always considered a wet ingredient). Melt the butter and chocolate together with the rum. (You can use a double boiler or microwave – if using a microwave, only heat the chocolate for short times, stirring frequently until smooth.)

When the chocolate is completely smooth, stir in the sugar. Then stir in eggs, one at a time, mixing well after each. When the eggs are thoroughly combined, mix in the vanilla extract.

Fold in the flour mixture until no white bits of flour remain.

Transfer batter to prepared pan and bake for 25-30 minutes, until a toothpick inserted in the center comes out clean. (You can set the pan aside at this point and prepare the cake layer and bake them at the same time if you like.)

Butter and chocolate getting ready to be nuked:
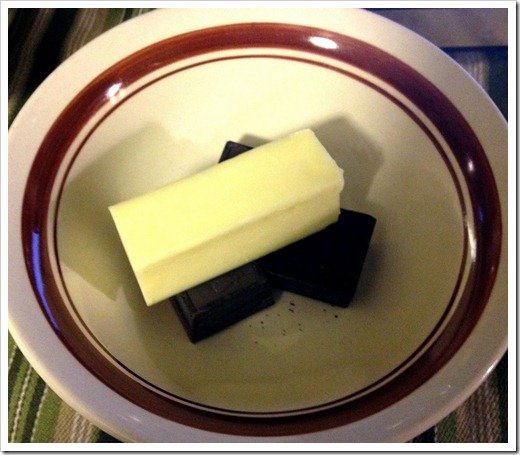
Chocolate Overdose Cake - Making the Brownie Base

Fold in the flour:
Chocolate Overdose Cake - Making the Brownie Base

Don’t leave any bits of flour in your batter:
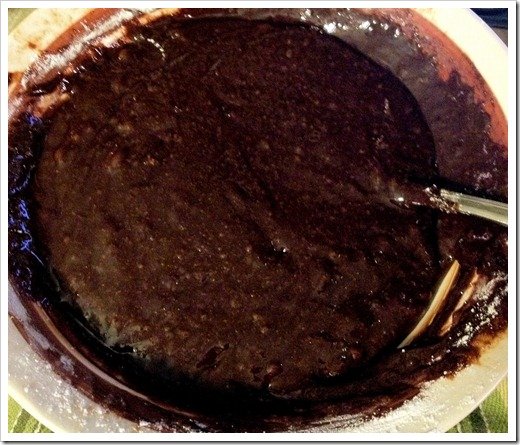
Chocolate Overdose Cake - Making the Brownie Base

The brownie batter ready to go into the oven … please ignore those bits of flour, thank you:
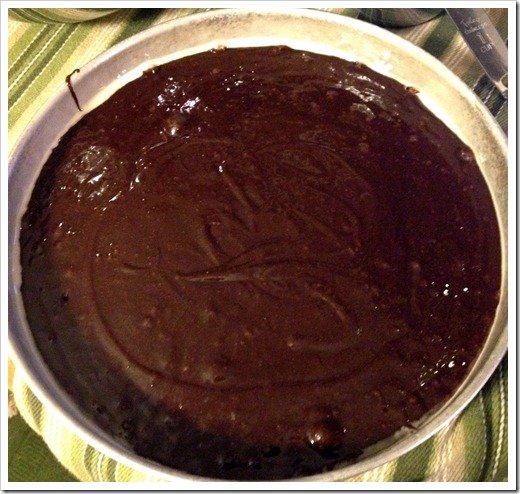
Chocolate Overdose Cake - Making the Brownie Base

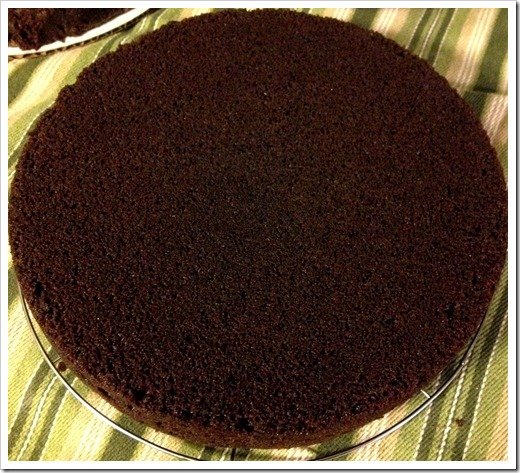
The finished brownie base waiting for assembly!
Chocolate Overdose Cake - The Finished Brownie Base

The Cake

Cake Ingredients:

2 oz. unsweetened chocolate, coarsely chopped
1/8 cup Dutch-processed cocoa
1/4 cup hot water
7/8 cup sugar, divided
7/8 cups unbleached all-purpose flour
3/4 t baking soda
1/2 t salt
1/2 cup buttermilk
1 t vanilla extract
2 large eggs
1 large egg yolk
6 T unsalted butter, soft

Prepare a [easyazon-link asin=”B0006GNPP0″ locale=”us”]9 x 2 inch round cake pan[/easyazon-link], by buttering and flouring, or spraying with your [easyazon-link asin=”B00473NTB8″ locale=”us”]favorite pan spray[/easyazon-link].
 
Melt chocolate together with the cocoa powder, stirring until smooth. Add 1/4 cup of the sugar, stirring to combine. Set aside to cool.
 
Combine flour, baking soda and salt.
 
Combine buttermilk and vanilla.
 
Beat eggs together until combined, increase speed and add sugar. Using the whisk attachment beat until fluffy and light in color – about 3 full minutes.
 
Using the paddle attachment, add the chocolate mixture, mixing well. Beat in the softened butter one tablespoon at a time, mixing about 10 seconds between each addition.
 
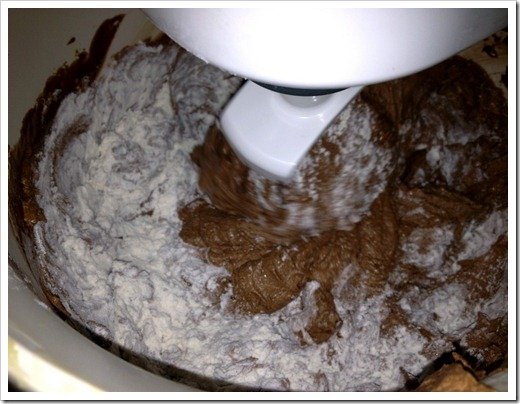
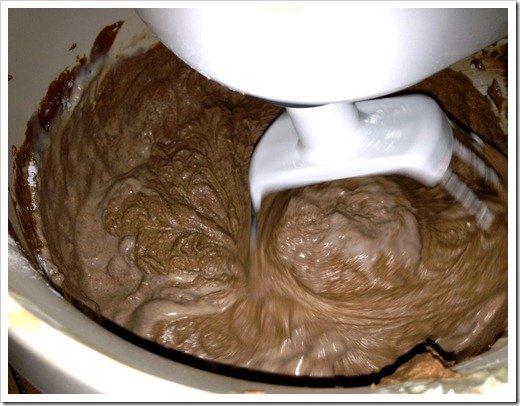
Starting with the flour, alternate adding buttermilk and flour, ending with flour. Mix about 20 seconds, to make sure everything is combined.
 
Pour into pan and smooth batter.
 
Bake for 30 minutes, or until done.

Water, chocolate and cocoa powder.
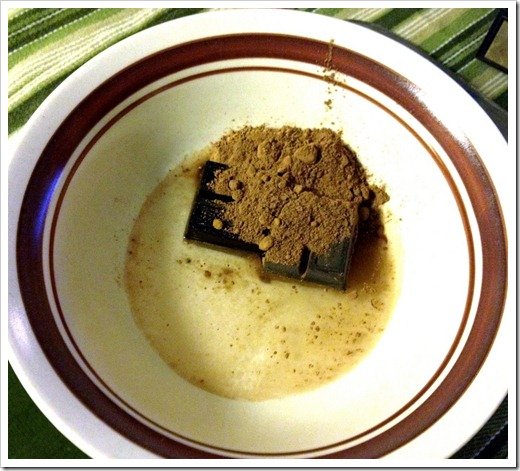
Chocolate Overdose Cake - Making the Cake Layer

The melted chocolate – cocoa powder mixture:
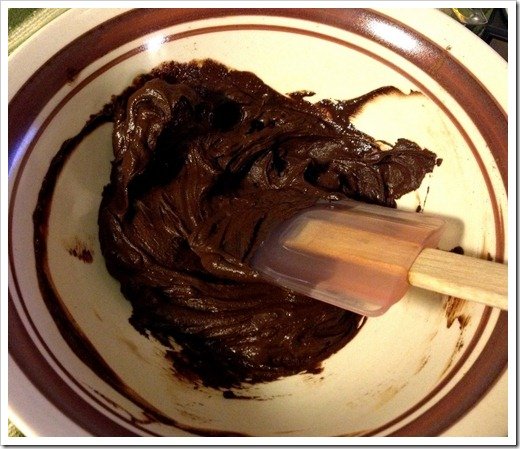
Chocolate Overdose Cake - Making the Cake Layer

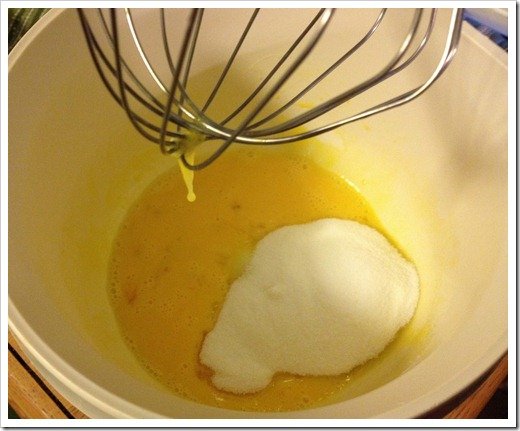
Eggs:
Chocolate Overdose Cake - Making the Cake Layer

Beaten eggs with sugar:
Chocolate Overdose Cake - Making the Cake Layer

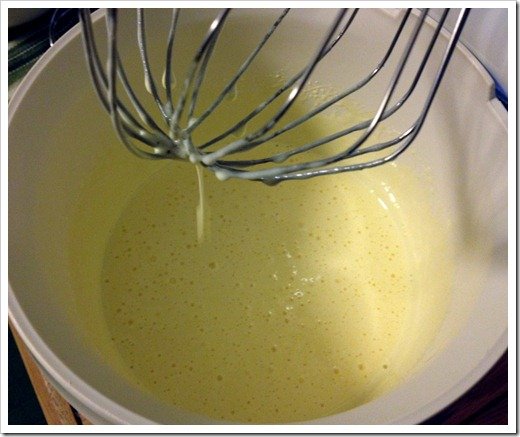
The sugar beaten in:
Chocolate Overdose Cake - Making the Cake Layer

Adding the chocolate:
Chocolate Overdose Cake - Making the Cake Layer

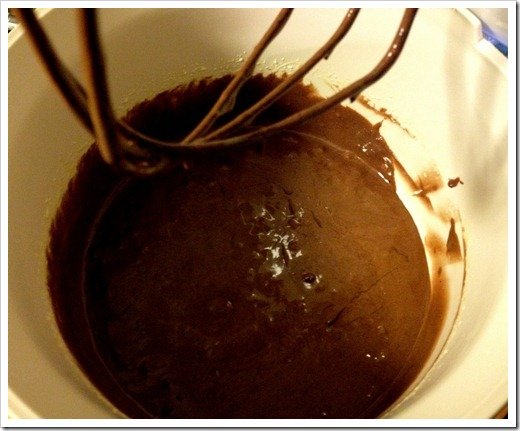
The chocolate mixed in:
Chocolate Overdose Cake - Making the Cake Layer

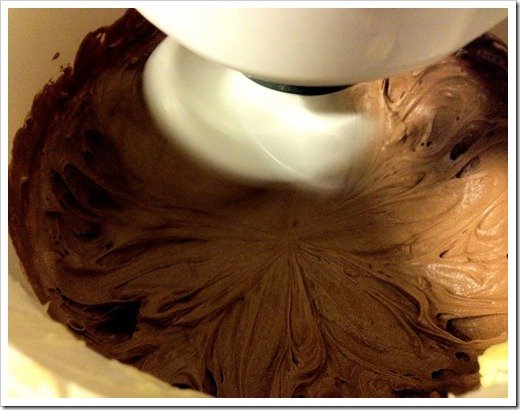
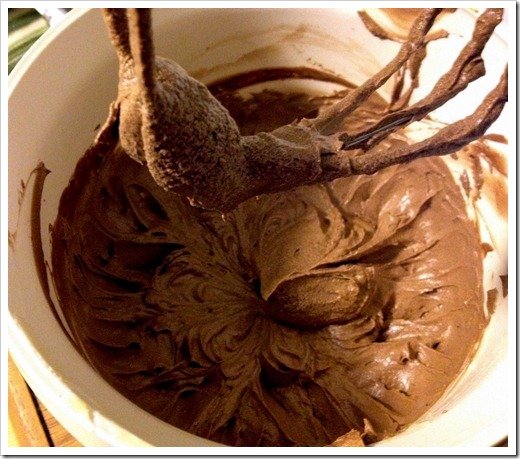
Whipping the chocolate:
Chocolate Overdose Cake - Making the Cake Layer

The whipped chocolate mixture:
Chocolate Overdose Cake - Making the Cake Layer

Alternating the flour …
Chocolate Overdose Cake - Making the Cake Layer

And the milk …
Chocolate Overdose Cake - Making the Cake Layer

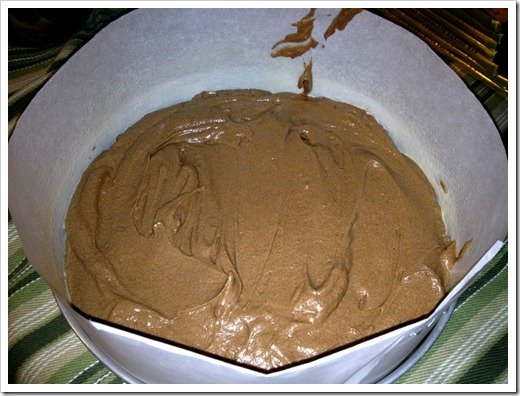
My pan is only 1.5” high, so I added a parchment paper collar:Chocolate Overdose Cake - Making the Cake Layer

The batter ready for baking:
Chocolate Overdose Cake - Making the Cake Layer

The baked cake layer, collar removed, ready to be removed from the pan:
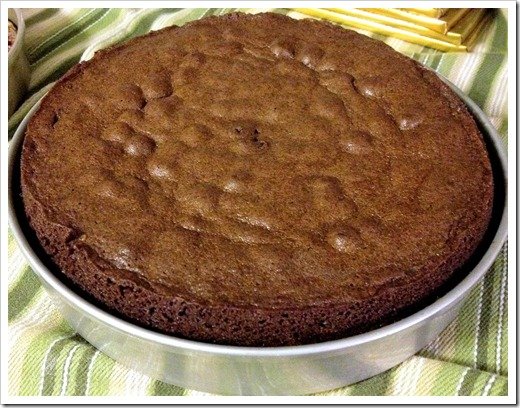
Chocolate Overdose Cake - The Finished Cake Layer

The cake layer cooling:
Chocolate Overdose Cake - Making the Cake Layer

The chocolate mousse

Mousse ingredients:

6 oz. semi-sweet chocolate, broken into 1/2-oz. pieces
1 7/8 cups heavy cream
1 tbsp. sugar

Melt chocolate and cool.

Whip cream and sugar together in a chilled mixer bowl, until stiff peaks form.

Fold the whipped cream into the chocolate in three additions.

The completed chocolate mousse:Chocolate Overdose Cake - Mousse

The ganache

Ganache Ingredients:

1 1/2 cups heavy cream
2 tbsp. unsalted butter
18 oz. semisweet chocolate, broken into 1/2-oz. pieces

Heat the heavy cream to boiling. Pour over the chocolate and butter and stir until smooth.

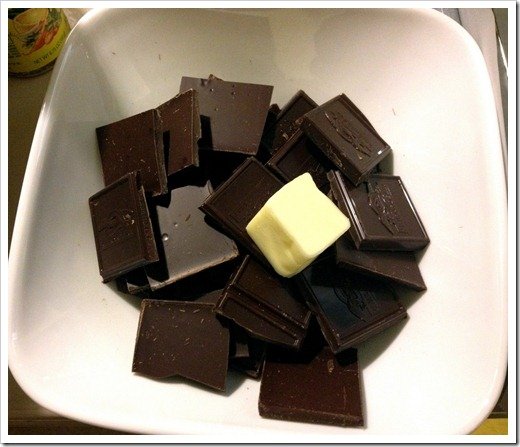
Chocolate and butter ready for melting:Chocolate Overdose Cake - Making the Ganache
Heated cream:
Chocolate Overdose Cake - Making the Ganache

The completed ganache … silky smooth goodness:
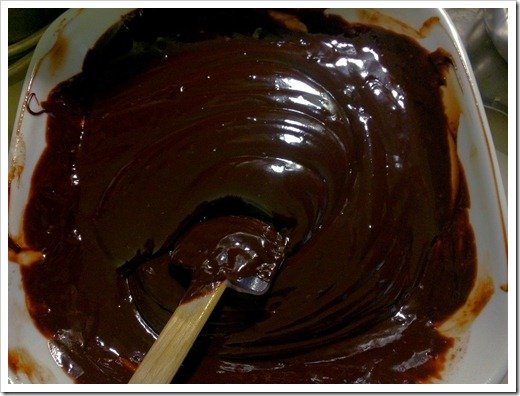
Chocolate Overdose Cake - Making the Ganache

The assembly

To assemble:

Top the brownie with the chocolate mousse. Top with the cake layer and press firmly to level.

Use the mousse that will ooze out between the brownie and cake to skim coat the brownie and cake layers. Refrigerate until the mousse has firmed up, making the ganache at this time.

Pour the ganache over the chilled cake, spreading with an off-set spatula to smooth. Decorate as you desire.

A thick layer of mousse on the brownie layer:Chocolate Overdose Cake - Assembly
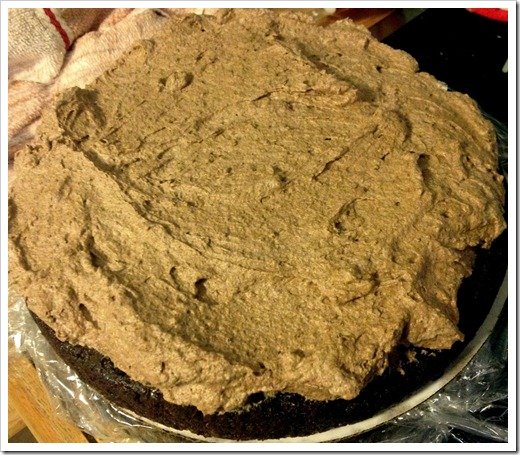
The completed layers:
Chocolate Overdose Cake - Assembly

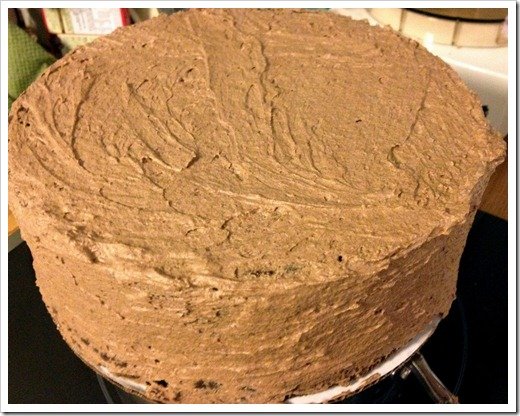
I gave the whole cake a skim-coat of mousse and then refrigerated it to set up a bit:Chocolate Overdose Cake - Assembly
The completed cake, with ganache shells and rosettes, with a ring of mini chocolate chips:
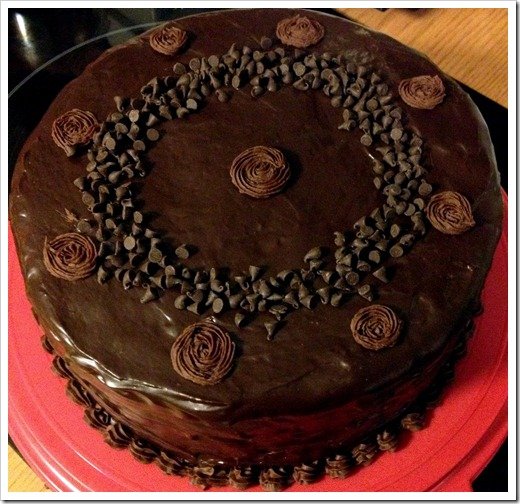
Chocolate Overdose Cake - Finished

Jim’s List of Essential Canning Tools

What do you need to do some major canning? Here are my suggestions for a happy canning experience.

  1. A Stainless Steel Canning Funnel
    [easyazon-image align=”right” asin=”B00004UE88″ locale=”us” height=”115″ src=”http://ecx.images-amazon.com/images/I/41H8B03T3PL._SL160_.jpg” width=”160″]A [easyazon-link asin=”B00004UE88″ locale=”us”]canning funnel[/easyazon-link] is a requirement to easily transfer foods into a jar. Sure you can go with plastic, but stainless will hold up better and isn’t going to melt if you get it too close to a hot burner.

  2. A Jar Lifter
    [easyazon-image align=”right” asin=”B007QT4GM6″ locale=”us” height=”160″ src=”http://ecx.images-amazon.com/images/I/41HLBRZCB0L._SL160_.jpg” width=”108″]You don’t want to try to lift hot jars out of a pot of boiling water by hand, do you? A [easyazon-link keywords=”jar-lifter” locale=”us”]jar-lifter[/easyazon-link] will let you grab those jars without burning your hands.

  3. Commercial-Grade Stainless Steel Ladles
    [easyazon-image align=”right” asin=”B008K3Z76Q” locale=”us” height=”110″ src=”http://ecx.images-amazon.com/images/I/31EzsaG-%2BVL._SL110_.jpg” width=”110″]You want a [easyazon-link keywords=”nsf stainless ladle” locale=”us”]ladle with a long handle[/easyazon-link] so that you can get into large stockpots. Most ladles made for home use are way to short for this task and don’t hold anywhere near enough. You can find [easyazon-link keywords=”32 oz ladle” locale=”us”]quart-sized commercial ladles[/easyazon-link]. I find myself using an [easyazon-link keywords=”8 oz stainless ladle” locale=”us”]8 oz stainless[/easyazon-link], NSF-approved ladle I picked up at a local restaurant-supply store. If you are only canning small jars, you may find a [easyazon-link keywords=”4 oz stainless ladle” locale=”us”]4 oz[/easyazon-link] or [easyazon-link keywords=”6 oz stainless ladle” locale=”us”]6 oz[/easyazon-link] ladle more appropriate.

  4. Large Stainless Stockpots – induction capable
    [easyazon-image align=”right” asin=”B000ZMHDRQ” locale=”us” height=”82″ src=”http://ecx.images-amazon.com/images/I/2176Dek6DtL._SL110_.jpg” width=”110″]You can cook a small amount of something in a large pot, but you’ll not be cooking a large amount in a tiny pot! If you were to go for a [easyazon-link keywords=”22 quart stainless stock pot” locale=”us”]22 quart stockpot[/easyazon-link] (a common size), it could do double-duty as a boiling-water-bath canner. I suggest an [easyazon-link keywords=”induction cookware” locale=”us”]induction-capable pot[/easyazon-link] because induction technology seems to be becoming very popular and your next stove-top may be induction. Also, many people buy hotplates to help out in the kitchen during canning season – there are several [easyazon-link keywords=”induction” locale=”us”]portable induction burners[/easyazon-link] on the market these days.

  5. Commercial-Grade Stainless Steel Spoons
    [easyazon-image align=”right” asin=”B00915HNZK” locale=”us” height=”110″ src=”http://ecx.images-amazon.com/images/I/31YiLxZu8RL._SL110_.jpg” width=”110″]Again with the commercial thing? Why do I need a [easyazon-link keywords=”commercial spoon stainless professional” locale=”us”]commercial spoon[/easyazon-link]? Because they have the long handles to get to the bottom of a tall stockpot.

  6. Stainless Steel Skimmer
    [easyazon-image align=”right” asin=”B000P9TKC0″ locale=”us” height=”58″ src=”http://ecx.images-amazon.com/images/I/31uju5z%2BTlL._SL160_.jpg” width=”160″]When canning, you frequently want to distribute the solids out of a pot of soup evenly between jars, or only have a jar half-ful of solids before topping-off with broth. The easiest way I’ve found to do this is with a [easyazon-link asin=”B000P9TKC0″ locale=”us”]skimmer[/easyazon-link]. If you are fan of deep-frying, perhaps you already have one lying about the house?

  7. Stainless Steel Colanders
    [easyazon-image align=”right” asin=”B00555ETXY” locale=”us” height=”68″ src=”http://ecx.images-amazon.com/images/I/41eVkUNRBJL._SL110_.jpg” width=”110″]A couple [easyazon-link keywords=”stainless colander” locale=”us”]large colanders[/easyazon-link] make rinsing large quantities of vegetables much easier! If you have a steam juicer, you should probably just grab the colander out of the top if it.

  8. Stainless Steel Steam Juicer
    [easyazon-image align=”right” asin=”B0002IBQL2″ locale=”us” height=”110″ src=”http://ecx.images-amazon.com/images/I/416lluf6DBL._SL110_.jpg” width=”110″]The best invention for clear jellies, the [easyazon-link keywords=”stainless steam juicer” locale=”us”]steam juicer[/easyazon-link] also is great for removing water from tomatoes or preparing apples for apple sauce. The large colander can be used for straining anything, or with the [easyazon-link asin=”B0002IBQL2″ locale=”us”]Krona model[/easyazon-link] can be used as a normal steamer. A [easyazon-link keywords=”stainless steam juicer” locale=”us”]steam juicer[/easyazon-link] consists of 5 parts: A water pan on the bottom, A collection pan, with spout, above the water pan, A colander into which you place your product, A lid sitting on top of all, and a heat-proof hose attached to the collection pan’s spout, for draining-off your juice.

  9. A food mill or berry-press attachment for your stand mixer
    [easyazon-image align=”right” asin=”B00004SGFJ” locale=”us” height=”110″ src=”http://ecx.images-amazon.com/images/I/311qb72yfJL._SL110_.jpg” width=”110″]How do you remove all the seeds and peels from the produce you’ve just run through your steam juicer? Hook up a press attachment to your [easyazon-link asin=”B00004SGFJ” locale=”us”]Kitchen Aid[/easyazon-link], Bosch or Assistent stand mixers.

  10. Pressure Canners
    [easyazon-image align=”right” asin=”B00004S88Z” locale=”us” height=”110″ src=”http://ecx.images-amazon.com/images/I/41hC%2BsFPoBL._SL110_.jpg” width=”97″]Canners? Plural? Why would you need more than one canner? And what about water bath canners?I feel a tall [easyazon-link keywords=”pressure canner” locale=”us”]pressure canner[/easyazon-link] is a must unless you have need of a small canner. A tall [easyazon-link keywords=”pressure canner” locale=”us”]pressure canner[/easyazon-link] is one that is 21 quarts by volume or greater. It will be tall enough to do two layers of pint jars as well as be used as a boiling water bath canner.[easyazon-link keywords=”Presto pressure canner” locale=”us”]Presto[/easyazon-link], [easyazon-link keywords=”Mirro pressure canner” locale=”us”]Mirro[/easyazon-link] and [easyazon-link keywords=”All-American pressure canner” locale=”us”]All-American[/easyazon-link] all make 21 quart, or larger, pressure canners. I suggest more than one canner if you are doing large batches. You can start a second canner-load as soon as the first has finished its time, or you can have two canners going at once.

Chambord White Peach Cobbler

Traditional Peach Cobbler with a touch of Black Raspberry Goodness

Do you know what goes very well with white peaches? Chambord Black Raspberry Liqueur, that’s what! I took a traditional cobbler recipe, used white peaches and laced it with a bit of Chambord Liqueur, for my current favorite taste sensation.

Crust:
2 cups flour; plain or self rising
1 t salt only if using plain flour
2/3 cup + 2 T shortening
4-5 T ice water

Filling:
4 cups fresh fruit
1 1/2 cups sugar
2 cups water
4 T butter
1 1/2 T Chambord Liqueur

Topping:
extra sugar for sprinkling

The dough ball, ready for resting.To prepare crust:
Preheat oven to 425 degrees or so.

Mix salt well with flour if not using self rising flour. Cut shortening into flour using two forks until mixtures is blended and crumbly.

Add ice water, mixing lightly, until pastry holds together.

Divide into two portions and pat into balls.

Chill while preparing fruit.

Sliced White PeachesTo prepare fruit:
Peel, pit, and slice or rinse berries.

In heavy saucepan, bring fruit, sugar, water, butter to boil and boil 5 minutes stirring often to keep from sticking. Add liqueur and stir.

Set aside.

The peaches in the liqueur syrup


Dough strips ready to be placed in the cobbler.To assemble:
Role one ball of pastry to pie crust thickness and cut into inch wide strips.

Pour half the fruit mixture into a 12 x 9 x 2 inch pan (or equivalent). Lay the strips across the fruit in rows. Top with remaining fruit mixture.

Roll and cut the second ball of pastry as the first, topping the cobbler with the strips. Feel free to be artistic or rustic.


The assembled cobbler, ready for the oven.Sprinkle pastry with granulated sugar.

Bake in a 400-450 degree oven for 45 minutes, or until golden and bubbly. Begin checking at 30 minutes and in 5 minute intervals thereafter.