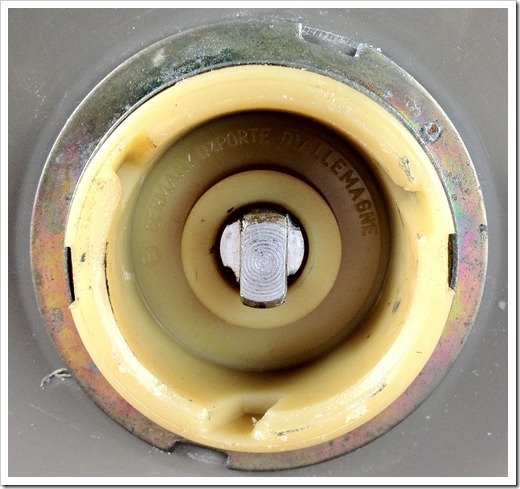
I found myself in a thrift store today and a vintage canner followed me home.
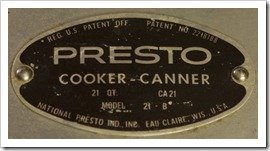 The Presto 21-B is an older model Presto pressure canner that is based on the old National design, before the National company became Presto. It is a 21 quart-by-volume canner as the model number suggests. It will hold a pretty standard 7 quart jars, but is tall enough to do two layers of pint jars (16 wide-mouth pints or 18 regular-mouth pints). You also download a copy of the 21-B Canner Manual.
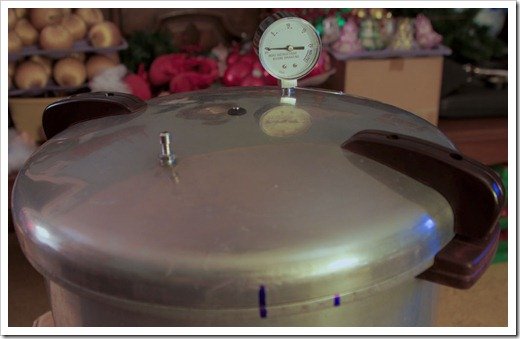
The canner is in good physical shape, but cosmetically and operationally, it has several problems.
It’s dirty
It’s missing its weight (or “jiggler”)
The gauge is in dire need of replacement
The rubber seal and over-pressure plug are both dried out and shrinking
(Did I mention the grunge?)
I’m putting a complete list of parts I might use at the end of this post.
The canner from the “back.” It has the normal aluminum pitting and wear you see on cast aluminum of this vintage, but you can also begin to see the dirt issues. Not all of it is dust!

See how the needle on the gauge isn’t resting on zero? This is an indication that the gauge has been damaged at some point in its life. Judging from past experience with another of these Presto 21-Bs, I feel confident in saying that this is the canner’s second gauge, at least. The original on my other 21-B is angled backward and has the Presto name on it. This gauge will be replaced with [easyazon-link asin=”B000GD55LA” locale=”us”]Presto part number 85771[/easyazon-link]. This is the Presto gauge that has fine machine-screw type threads on it. (They have at least one other model that has a nut on the bottom and coarser threads.)

The vent tube on which the missing weight sits. This is the [easyazon_link identifier=”B015ZNB9Y2″ locale=”US” tag=”cwj-20″]model 1058 vent tube[/easyazon_link]. I’ll be replacing the missing weight with Presto’s three-piece weight-set, [easyazon-link asin=”B000HMBVQ8″ locale=”us”]Part Number 50332[/easyazon-link]. See the grunge? The grunge must go away. I can handle a bit of grunge on my canner if it’s my grunge. This is someone else’s grunge! (Note the chamfered / beveled / angled top on this pipe? This is the correct 1058 vent pipe. Some sellers have sent me a straight-cut pipe that DOES NOT work with the 3 piece weight set.)
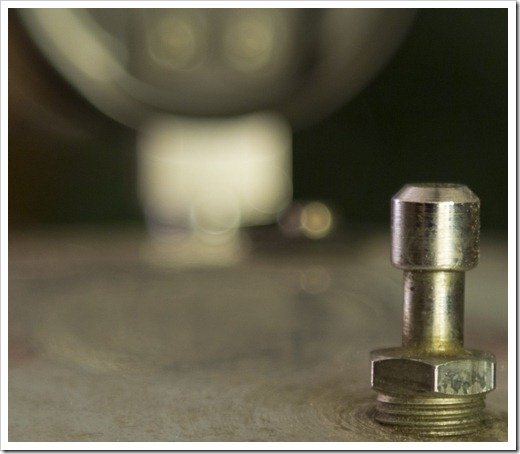
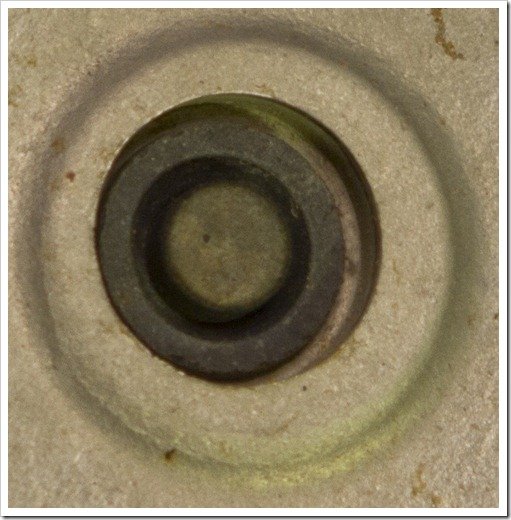
A close-up of the over-pressure plug and air vent. [easyazon-link asin=”B000OREUEQ” locale=”us”]Part Number 9911[/easyazon-link], this over-pressure plug can also be bought in a set with the seal. You can easily see the grunge and nastiness in this picture, but you can’t really tell that the plug is dried-out and has shrunk.
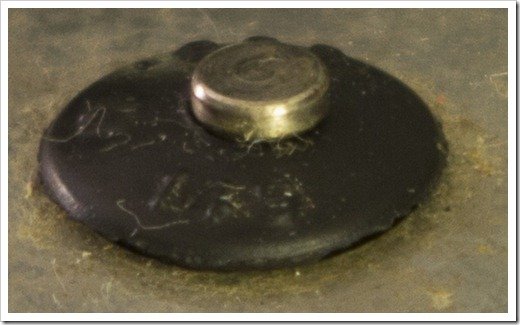
Here is a close-up of the bottom of the over-pressure plug. The plug is dry and stiff and should fill up that hole a bit more than it does.
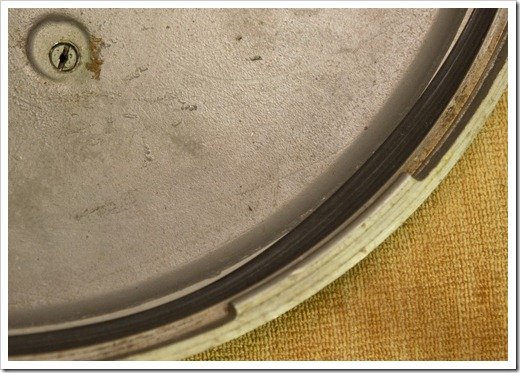
The under-side of the canner lid. The round bit with the slot cut through it is the bottom of the vent tube. Notice the grunge right beside it? There is grunge INSIDE it as well! A definite hazard, the vent tube has to be cleaned out before use! Also notice how the black rubber seal is bulging out of its groove. The seal is noticeably stiff and dry and has shrunk with age. The grunge has to be removed from next to the seal, also, so that the lid properly seats onto the canner pot itself. [easyazon-link asin=”B00NE665T2″ locale=”us”]Presto Part number 9907[/easyazon-link] will give you both this seal, as well as the over-pressure plug.
More grunge around the rim of the canner that has to be removed. Notice the rust staining on the bottom of the canner. This comes from using that wire basket. The wire will rust. I’ll be replacing the basket with two 11 1/4” aluminum canner racks ([easyazon-link asin=”B000LNY6T2″ locale=”us”]Presto part number 85707[/easyazon-link], or [easyazon-link asin=”B00196L2E2″ locale=”us”]All-American part number 151[/easyazon-link].) The rust staining should go away with a bit of scrubbing with [easyazon-link keywords=”Bar Keeper’s Friend” locale=”us”]Bar Keeper’s Friend[/easyazon-link].

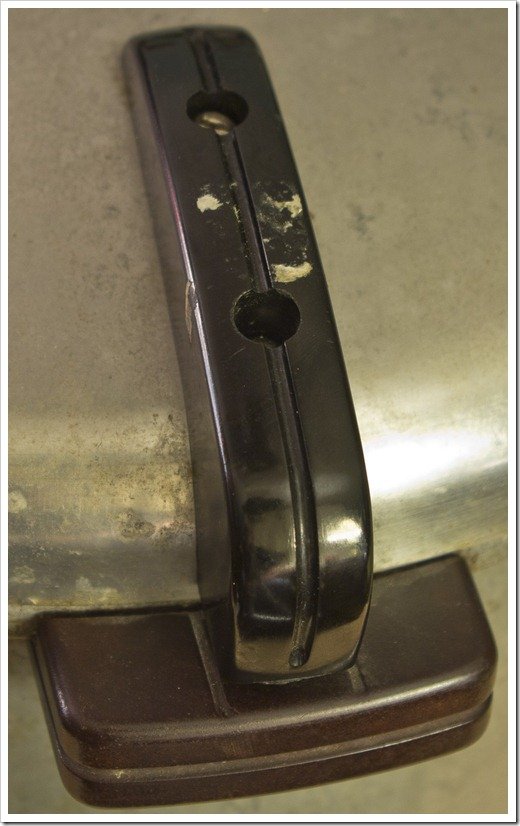
Grungy handles on both sides! That the handles are two colors also leads me to the conclusion that this canner has had some replacement parts in its lifetime. I’ll be removing the handles for cleaning, and if necessary, I’ll replace the screws with stainless versions from the local hardware store; I expect to find rusty screws! The handles for the lid are [easyazon-link asin=”B000HM5UVU” locale=”us”]Presto Part Number 85444[/easyazon-link], and for the canner bottom, [easyazon-link asin=”B000HM7XAG” locale=”us”]Part Number 85443[/easyazon-link].
This close-up of the front of the canner shows the open-closed positioning and has some interesting numbers. This canner has the numbers: 21 25 and 71, my other 21-B has the numbers: 21 26 and 67. I have seen references online to parts fitting Presto canners “made in 1971 or before,” so I’m going to assume the last two numbers are a year code. I believe it’s safe to assume the 21 refers to the model number and size of the canner. Anyone want to venture a guess as to the middle numbers?
Update: I’ve consulted the Canning2 Yahoo Group and it’s been suggested that the middle number could be a week of manufacture. I finally remembered that I had a 16 quart canner bottom sitting in the basement and have checked it. It has numbers of 16 51 and 67. I’m going to assume this means it was made just before Christmas 1967.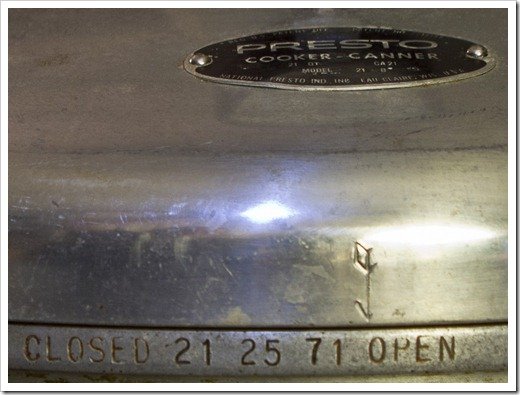
See my Presto dating page for more information.
The canner cleaned up well.
| Gauge |
[easyazon-link asin=”B000GD55LA” locale=”us”]Part Number 85771[/easyazon-link] |
| Vent Pipe |
[easyazon_link identifier=”B015ZNB9Y2″ locale=”US” tag=”cwj-20″]Part Number 1058[/easyazon_link] |
| Over-pressure Plug |
[easyazon-link asin=”B000OREUEQ” locale=”us”]Part Number 9911[/easyazon-link] |
| Gasket (with over-pressure plug) |
[easyazon-link asin=”B00NE665T2″ locale=”us”]Part Number 9907[/easyazon-link] |
| Canner Rack |
[easyazon-link asin=”B000LNY6T2″ locale=”us”]Part Number 85707[/easyazon-link] |
| Lid Handles |
[easyazon-link asin=”B000HM5UVU” locale=”us”]Part Number 85444[/easyazon-link] |
| Bottom Handles |
[easyazon-link asin=”B000HM7XAG” locale=”us”]Part Number 85443[/easyazon-link] |
| Three-piece Weight Set |
[easyazon-link asin=”B000HMBVQ8″ locale=”us”]Part Number 50332[/easyazon-link] |

